- Subscribe to RSS Feed
- Mark as New
- Mark as Read
- Bookmark
- Subscribe
- Email to a Friend
- Printer Friendly Page
- Report Inappropriate Content
Many, if not most, of the new features of Honeycomb (Android 3.0, API level 11) relate to UI changes to accommodate the android:xlargeScreen
of a tablet. But there's one very interesting new feature, that
has little to do with screen size, and everything to do with graphics
performance. Step into the spotlight, Renderscript!
[The second installment, Renderscript Part II, can be found here]
A Description of Renderscript
There isn't a wealth of information on Renderscript yet. There's an Android developer blogpost "Introducing Renderscript" here, and some notes in the Graphics section of the developer docs here. And there are five sample Renderscript programs accompanying the Honeycomb SDK. We'll walk through one of these programs soon enough, but let's start by outlining Google's description of Renderscript. The blog linked above says that Renderscript is
- a new high performance 3D graphics API
- currently used in live wallpaper and in the Android Youtube and Book apps, and
- now being made public with Honeycomb
- Google's developer, R. Jason Sams, goes on to explain that Renderscript provides
- a rendering API for a set of 3D features that are easily hardware-accelerated
- a computing API that is geared to operations that GPUs implement
- a C-based scripting language for programmers to specify the computing and rendering operations.
Computing and rendering are the two big critical parts of graphic operations. "Computing" is calculating the trajectories of all the points that make up your moving object, to fix where they have moved to. "Rendering" is painting those points and the texture surfaces draped over them, onto the screen. Sams is explaining that Renderscript is a scripting language offering a thin API, that covers the computing and rendering operations most commonly done in hardware. The more familiar you are with low level graphics hardware primitives, the easier you will find it to get started with Renderscript.
All About Performance
- Google is saying clearly here that Renderscript is meant for programmers who want the maximum graphics performance, and are willing to "program down to the silicon" to achieve it. Well, maybe not all the way down to the nand and nor gates, but certainly it's for programmers who are willing learn a new language, Renderscript, to get faster graphics performance.
- Since Renderscript is geared to real hardware, you won't see Renderscript code running in the emulator. If you want try developing some Renderscript for yourself, you will have to use a device that runs Honeycomb. At the time of writing (Februrary 2011) the only device on the market running Honeycomb is the Motorola XOOM. So that's another reason for you to ask your manager to get you a XOOM - staying current with the latest graphics performance technology.
- Walk through the Code
- Maybe
it's time for that code walk-through. We'll do this in two
parts. The first part will be importing, compiling, and
running the sample code from the Honeycomb SDK. The second part (in a
second blog post) will be a review of the source files, and an
explanation of what a Renderscript app is composed of.
- If
you look at the samples/android-11 folder of your Android SDK, you'll
see the 30-odd sample programs provided for Honeycomb. You can
easily import any of these into MOTODEV Studio by selecting File >
New > Android Project for Studio. Here's what the dialog
looks like in MOTODEV Studio (it's similar in Eclipse).

- Now
you can provide a project name (for sanity and simplicity, use the same
name as the sample), click API level 11, and click the radio
button labeled "Create project from existing source". Browse to
the
sample program that you want, and click Finish. Studio or Eclipse
will smoothly import the source files from the SDK samples, and make an
Eclipse project out of them.
- Build and Run
- After
you've brought the sample code into MOTODEV Studio or Eclipse, the
default settings cause new projects to build automatically. Then
highlight the project, connect a XOOM tablet via USB cable, and "Run as
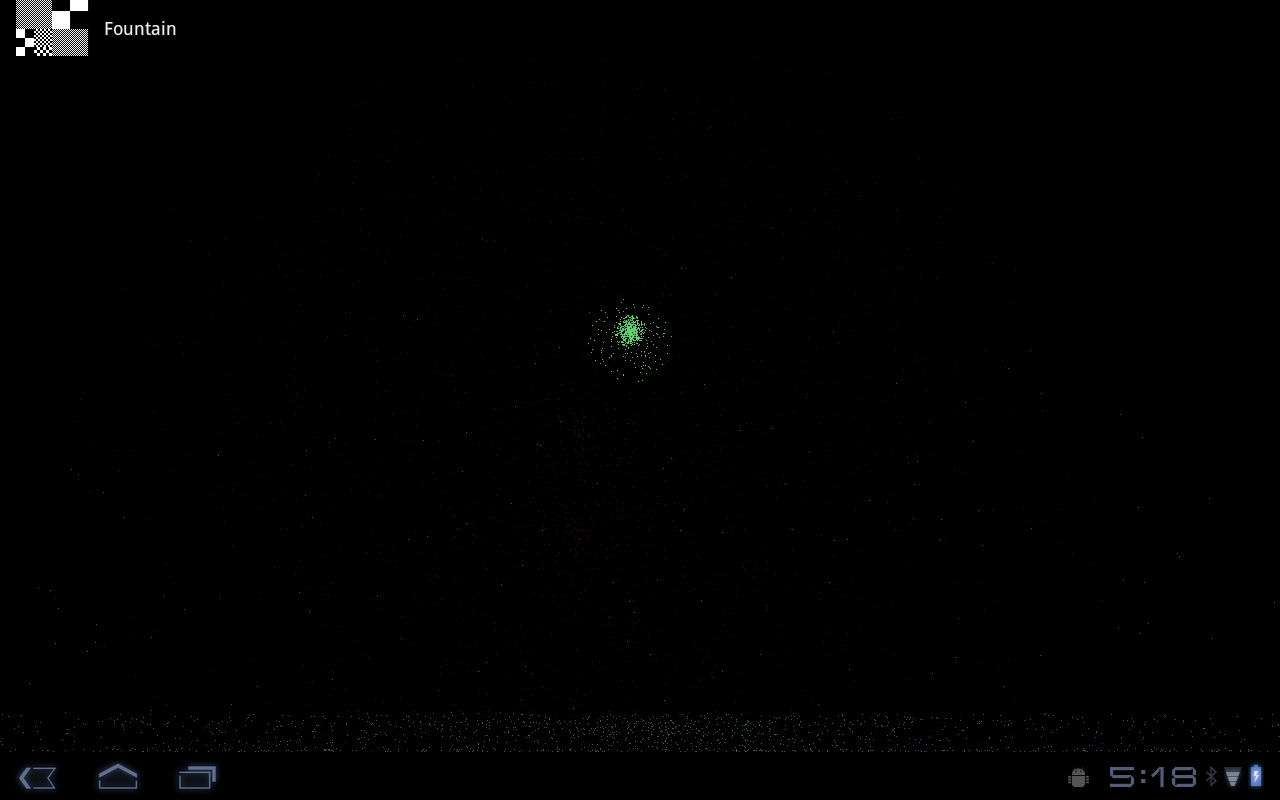
Android Application" as usual. For the Renderscript Fountain
sample code, this screen snapshot shows the results. Wherever you
touch the screen, a ball (fountain) of droplets appears, and cascades
down to the bottom. The screen snapshot is so large because the
XOOM has a WXGA 1280 x 800 display. All that room on the screen!

- (The "raster-y squares" icon at the top left of the screen, and the word "Fountain" is a new Honeycomb feature, highlighting which app is running, or what the app is doing).
- There's
an even simpler Renderscript app, that paints "Hello world" wherever you
touch the screen. Read the next installment (coming in a few
days) for an analysis of the source files that make up a Renderscript
app. In the meantime, I hope to meet you at the San Francisco XOOM meetup on Tuesday March 1, 6:30-9pm.
-
Cheers,
Peter van der Linden
Android Technology Evangelist


